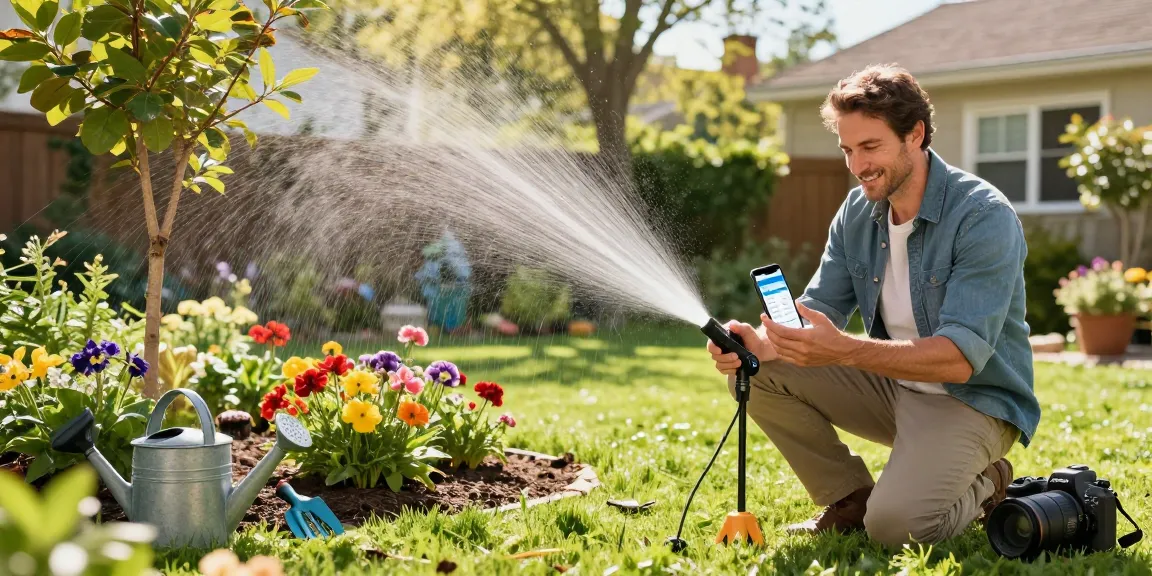
When Sarah noticed her sprinkler soaking the sidewalk every afternoon, she started getting water bills that felt like a monthly surprise. Her small front yard has a shady strip by the driveway and a sunny patch by the mailbox — two very different watering needs — and the single zone overhead sprinkler was wasting half the water. She needed a setup that matched each spot’s needs without extra fuss.
Why lawn water waste happens — and the right fix for each problem
Problem: Overlapping spray, runoff, and watering pavement. Many conventional spray sprinklers are set on a timer and spray broad arcs until the timer stops. But if run time is too long or the arc covers hard surfaces, much of that water never benefits roots. A common scenario is afternoon cycles that run when evaporation and wind are highest.
Solution: Match the system to the problem. For small lawns with mixed sun/shade like Sarah’s, consider portable micro-sprays or low-flow rotary nozzles for sunny areas, and a targeted drip line for shaded beds. For example, switching a 500 sq ft lawn from a traditional spray to a low-angle rotor can cut run time by 20–40% in many cases. If you want automation, a WiFi timer such as the RainPoint model lets you run shorter cycles during cooler hours and skip irrigation when rain’s forecasted; this reduces unnecessary events and the associated waste.
Concrete example
Sarah split her yard into two zones: a 300 sq ft sunny strip on low-angle rotors and a 200 sq ft shade bed on drip tubing. Her weekly runtime dropped from 150 minutes total to 75 minutes. That practical change reduced visible runoff and soaked the roots instead of the driveway.
Drip irrigation vs. overhead sprinklers: matching systems to yard types
Problem: One-size-fits-all systems water everything the same way. Overhead sprinklers are easy for coverage but inefficient for irregular beds, potted plants, or beds with different soil types. They wet foliage and create evaporation losses, especially during midday wind.
Solution: Use the method that best serves plant roots. Drip irrigation delivers water slowly at the soil level where roots can use it, drastically cutting evaporation and runoff. For vegetable plots and flower beds, choose drip tubing with emitters spaced to suit plant density; for lawns, reserve overhead systems but use matched precipitation rate nozzles and zoning. If you want a deep example of how to adapt drip for various beds, see this guide to learn how drip irrigation reduces water waste — it explains emitter spacing, pressure regulation, and scheduling for common US climates.
Real figure
According to WaterSense and university extension guidance, converting high-loss spray systems to efficient drip or low-volume irrigation can save 20–50% of outdoor water used for landscaping in many cases.
Choosing the right drip setup for common scenarios
Problem: People buy drip lines without considering pressure, emitter spacing, or soil type, then think drip “doesn’t work.” In reality most failures come from mismatched components or poor layout.
Solution: Pick a solution by scenario — RainPoint acts like a scenario irrigation expert here, matching the right kit to the yard. Use the pairings below as a decision guide.
- Vegetable garden (rows, raised beds): Use inline drip tubing with emitters at 8–12" spacing, 0.5–1.0 GPH emitters for raised beds. This keeps soil consistently moist without wetting foliage and reduces fungal risk.
- Flower beds (mixed perennials): Use 12–24" emitter spacing or micro-spray heads for wider coverage; install a pressure regulator and a filter to prevent clogging from organic debris.
- Potted plants or window boxes: Choose slow, steady self-watering stakes or small drip stakes that deliver 0.25–0.5 GPH directly to the root ball.
- Small lawn patches: Portable micro-sprinklers or a short run of low-angle sprays linked to a DIY timer work well and avoid high-flow irrigation over small areas.
- Large lawns: Combine matched-precipitation rotors and a smart controller to reduce cycles and seasonal adjustments automatically.
Concrete example: A 10' x 20' raised vegetable bed retrofitted with 1/4" drip tubing spaced at 12" with 0.5 GPH emitters used about 60% less water per week than its former overhead watering routine, while producing larger, healthier tomatoes because moisture levels stayed constant.
How to plan irrigation schedules that minimize waste
Problem: Too-long cycles and midday watering. Many homeowners set a single runtime for every season and forget it, leading to runoff in heavy soils or evaporation in heat. Other common mistakes include not allowing soak-and-cycle for slope or compacted soil, which causes runoff.
Solution: Schedule by soil, slope, and plant need. Use shorter cycles repeated multiple times (cycle-and-soak) for compacted or clay soils so water infiltrates before more is applied. For sandy soil, fewer, deeper irrigations are better because sand drains quickly; for clay, shorter cycles reduce puddling. Smart controllers help; for example, a WiFi timer from RainPoint can automate multi-run daily programs and adjust for weather data so you only water when needed.
SituationCycle StrategyTypical Runtime (per zone)Sandy soil, vegetable bedsFewer, deeper cycles20–30 min, 2× per weekClay soil, sloped beds3× short soak-and-cycle5–10 min ×3 sessionsPotted plantsDaily short drips or self-watering5–15 min daily
Real data: The EPA reports that smart irrigation controllers can save an average of 8–36% of outdoor water use compared with conventional timers; in high-efficiency cases, savings can reach thousands of gallons annually depending on landscape size (source: EPA WaterSense).
Maintenance habits that keep systems efficient
Problem: Clogged emitters, leaks, and forgotten seasonal shutoffs turn efficient systems into leaky money pits. A mistimed or broken valve can waste hundreds of gallons before you notice.
Solution: Simple seasonal checks and small fixes. Inspect drippers every spring and fall, flush lines after heavy debris, and install a filter and pressure regulator when using municipal water or well water with particulate matter. Perform a quick walk-through monthly during the season: look for wet spots, check pressure, and test automatic controllers to ensure the rain sensor and weather adjustments are working.
Checklist with examples
- Monthly: Walk perimeter for puddling. Example — if you spot a wet circle near a connector, tighten it or replace the compressed seal.
- Every 3 months: Flush main lines. Example — open the end cap and run water until clear for drip tubing after heavy pruning seasons.
- Season start: Run each zone manually and time it. Example — time how long it takes for a 1" wetting depth in a test spot to calibrate run times.
Concrete example: A homeowner cut a drip system’s water use by 10% simply by adding a small inline filter that prevented emitter clogging; previously clogged emitters had been compensated for by running longer cycles.