
Understanding Ductless Mini-Split Installation
What is a Ductless Mini-Split System?
A ductless mini-split system is a versatile heating and cooling unit, comprising an outdoor compressor and one or more indoor air handlers. Unlike traditional systems that rely on ductwork to distribute air, mini-splits provide a direct air supply, ensuring precise temperature control in each zone of your home. This system is especially useful for homes without existing ductwork or for those seeking efficient, zone-controlled heating and cooling solutions. With advanced inverter technology, these systems can adjust the compressor speed for optimal efficiency based on the current needs of your space.
Benefits of Ductless Systems
Ductless mini-split systems offer numerous advantages, making them an increasingly popular choice for homeowners:
- Energy Efficiency: They typically maintain a higher Energy Efficiency Ratio (EER) than traditional systems, translating to lower energy bills.
- Flexibility: Perfect for homes with unique layouts, they can be installed in various configurations, including wall-mounted, floor-mounted, or ceiling cassette options.
- Easy Installation: The absence of ductwork means that installation is less invasive and faster, often completed within a day.
- Zone Control: Homeowners can set different temperatures for different rooms, providing personalized comfort.
- Air Quality: Many systems come equipped with high-efficiency filters, reducing allergens and maintaining better indoor air quality.
Components of Ductless Mini-Split Installation
Understanding the components involved in ductless mini-split installation is crucial for homeowners and installers alike. Here’s a breakdown:
- Outdoor Unit: Houses the compressor, condenser coils, and fans, responsible for heat exchange.
- Indoor Unit: Distributes the conditioned air; these units can have different designs to suit your décor.
- Refrigerant Lines: These insulated lines connect the indoor and outdoor units, allowing for the transfer of refrigerant.
- Drainage Line: Ensures any condensate produced is safely drained outside.
- Electrical Wiring: Necessary for powering both parts of the system and ensuring they communicate effectively.
Planning for Your Installation
Assessing Space Requirements
Before installation, it is essential to assess the space to ensure that the system will operate efficiently. Consider the following factors:
- Room Size: Larger rooms may require multiple indoor units to maintain even cooling and heating.
- Layout: Open floor plans may benefit from strategically placed units for better airflow.
- Insulation: Well-insulated spaces will maintain temperature better, improving efficiency.
Choosing the Right Size Unit
Selecting the right size for your ductless mini-split is crucial for effective heating and cooling. Undersized units will struggle to maintain temperature, while oversized units may cycle off too quickly, leading to inefficiencies. To determine the appropriate size:
- Calculate the total square footage of the area to be heated or cooled.
- Consider local climate, the number of windows, and occupancy levels, which can all impact heating and cooling requirements.
- Professional load calculations can provide a more accurate assessment.
Permits and Regulations
Before proceeding with installation, it’s important to check local building codes and regulations. Some municipalities require permits for HVAC installations, especially for systems that alter the external façade of a building or impact energy use. Always consult with local authorities or a professional installer to ensure compliance.
The Installation Process
Preparing the Installation Site
Preparation is key to a successful installation. Follow these steps:
- Clear the Area: Ensure that the installation site is free from clutter and obstructions.
- Assess Structural Integrity: Confirm that walls and electrical systems can support the units.
- Review Accessibility: Easy access to both the indoor and outdoor units simplifies installation and maintenance.
Steps for Ductless Mini-Split Installation
The installation process involves several key steps:
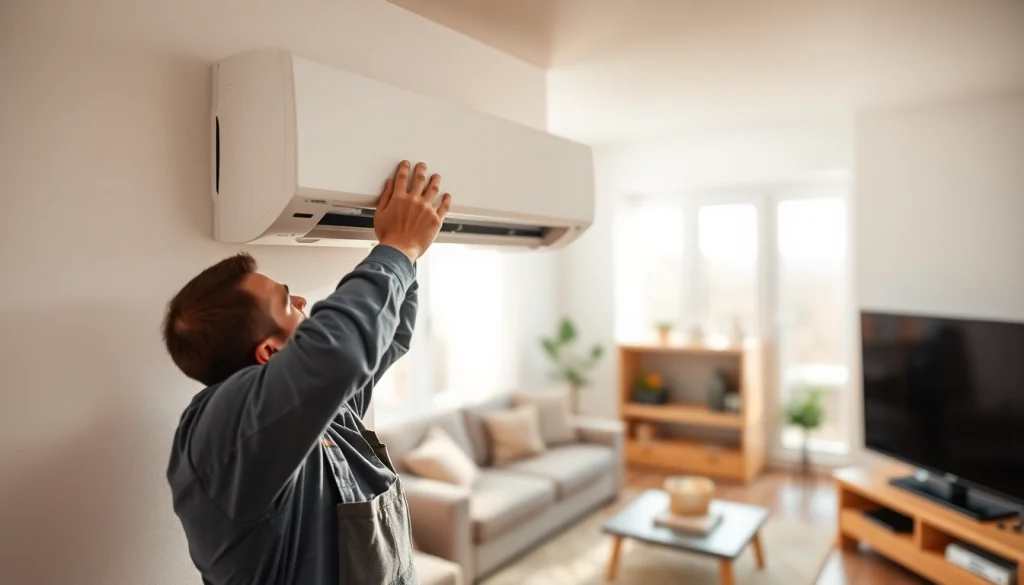
- Mount the Indoor Unit: Securely fasten the mounting bracket to the wall and hang the indoor unit.
- Install the Outdoor Unit: Position the outdoor unit on a solid foundation or bracket, ensuring it’s level.
- Connect Refrigerant and Drain Lines: Run refrigerant and drain lines through the wall or conduit.
- Connect Electrical Wiring: Ensure proper connections between both units following manufacturer guidelines.
- Test the System: Provide initial power and ensure the system is functioning correctly before sealing everything.
Common Installation Mistakes to Avoid
Even experienced installers can make mistakes. Here are common errors to steer clear of:
- Choosing the Wrong Size Unit: Incorrect sizing can lead to comfort issues and inefficiency.
- Poor Insulation of Refrigerant Lines: Failing to adequately insulate refrigerant lines can lead to energy loss.
- Neglecting Drainage: Improper drainage can cause leaks and water damage.
- UIneffective Location: Units placed in areas without adequate airflow can hinder effectiveness.
Post-Installation Considerations
Maintenance Tips for Ductless Systems
Regular maintenance is essential to extend the life and efficiency of your ductless mini-split system. Here are some tips:
- Clean or replace filters monthly for optimal airflow and energy efficiency.
- Check and clean the outdoor unit regularly, as debris can impede performance.
- Schedule professional maintenance annually to inspect system components and refrigerant levels.
Troubleshooting Common Issues
After installation, be aware of potential issues and how to address them:
- No Cooling/Heating: Check remote control settings, filters, and ensure that the outdoor unit is unobstructed.
- Strange Noises: Noises can indicate loose parts or issues with the compressor. Investigate promptly.
- Water Leaks: Leaks can arise from clogged drains or improper installation. Inspect and address immediately.
Signs You Need Professional Help
While minor issues can often be resolved by the homeowner, some signs indicate that professional assistance is necessary:
- Persistent strange noises from the units.
- Frequent cycling on and off of the system.
- Unexplained increases in energy bills.
- Foul odors emanating from the indoor units.
Frequently Asked Questions
How long does ductless mini-split installation take?
Installation typically takes a few hours to a full day, depending on the complexity and number of units installed.
Can I install a ductless mini-split myself?
While DIY is possible, hiring a professional ensures safety, compliance with local codes, and optimal performance.
What maintenance is required for a mini-split system?
Regularly clean filters and schedule yearly professional inspections to achieve optimal performance and extend the system’s life.
Are ductless mini-splits energy-efficient?
Yes, they offer industry-leading efficiency ratings, significantly reducing energy consumption and lowering utility bills over time.
What is the lifespan of a ductless mini-split?
With proper maintenance, ductless mini-split systems typically last between 15 to 20 years, ensuring reliable comfort and efficiency.